You stayed tuned! Thank you. In episode 2 I had all 31 images sequenced and now episode 3 is all about how I brought it to life.
Publishing and Printing: You’re here
Pricing and Selling: Stay tuned
There are plenty of printers out there on the world wide web. My Carnival zine was with Mixam, but if you’ve read about my previous experience with Mixam, you probably wouldn’t be surprised to learn that I would rather try something different. I also wanted to use this as a learning opportunity to familiarise myself with publishing software. I’ve used PowerPoint extensively at work, so it can’t be much different right? (it isn’t).
To be perfectly honest, I didn’t shop around much. A friend recommended Print.work (thanks Mike!) so I went straight there. I knew I wanted to print square and they had a 210mm square option, perfect. I did one sense check, speccing out an identical 210mm square zine at both printers. Mixam came in at half the price of Print.work, although I'd still put both in the “not too expensive” bucket.
So printer selected, next step is publishing.
Publishing & Affinity
Affinity is a free publishing app, which works on Mac / PC and in recent days, they’ve released an iPad app but I haven’t tested that. From what I can tell, they make money from the paid-for AI features. Thankfully for me, and you, that isn’t necessary.
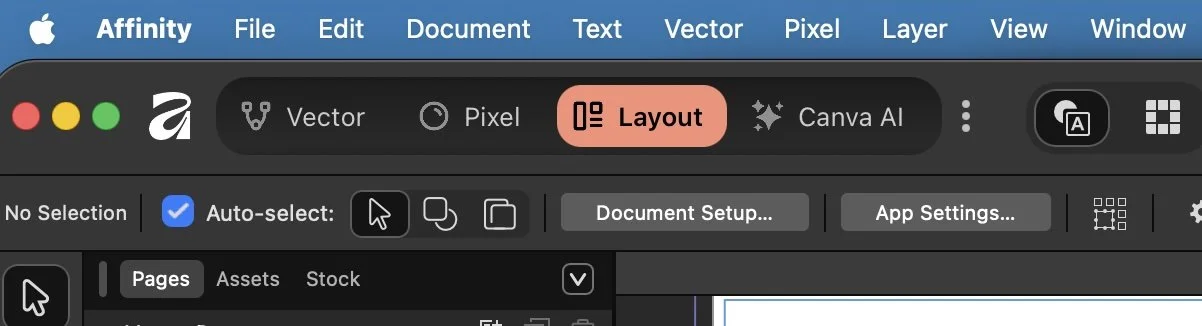
Now that’s what I call a top bar
When you open Affinity, you’ll notice this top bar. Affinity seems to be Adobe Illustrator (Vector), Photoshop (Pixel), InDesign (Layout) and ..something else (Canva AI). For us, we’ll just be needing Layout.
In Layout, the first screen you see is to select a blank document. As I was making a square zine, I created a 210mm x 210mm document with a DPI of 300. This matches the zine dimensions mentioned above. I then duplicated the page a few times to get the feel for a multi-page zine. The next step was to set it up in a zine format and add the bleeds. You can set these in document settings and I've included my settings below so you can use them as a starting point.
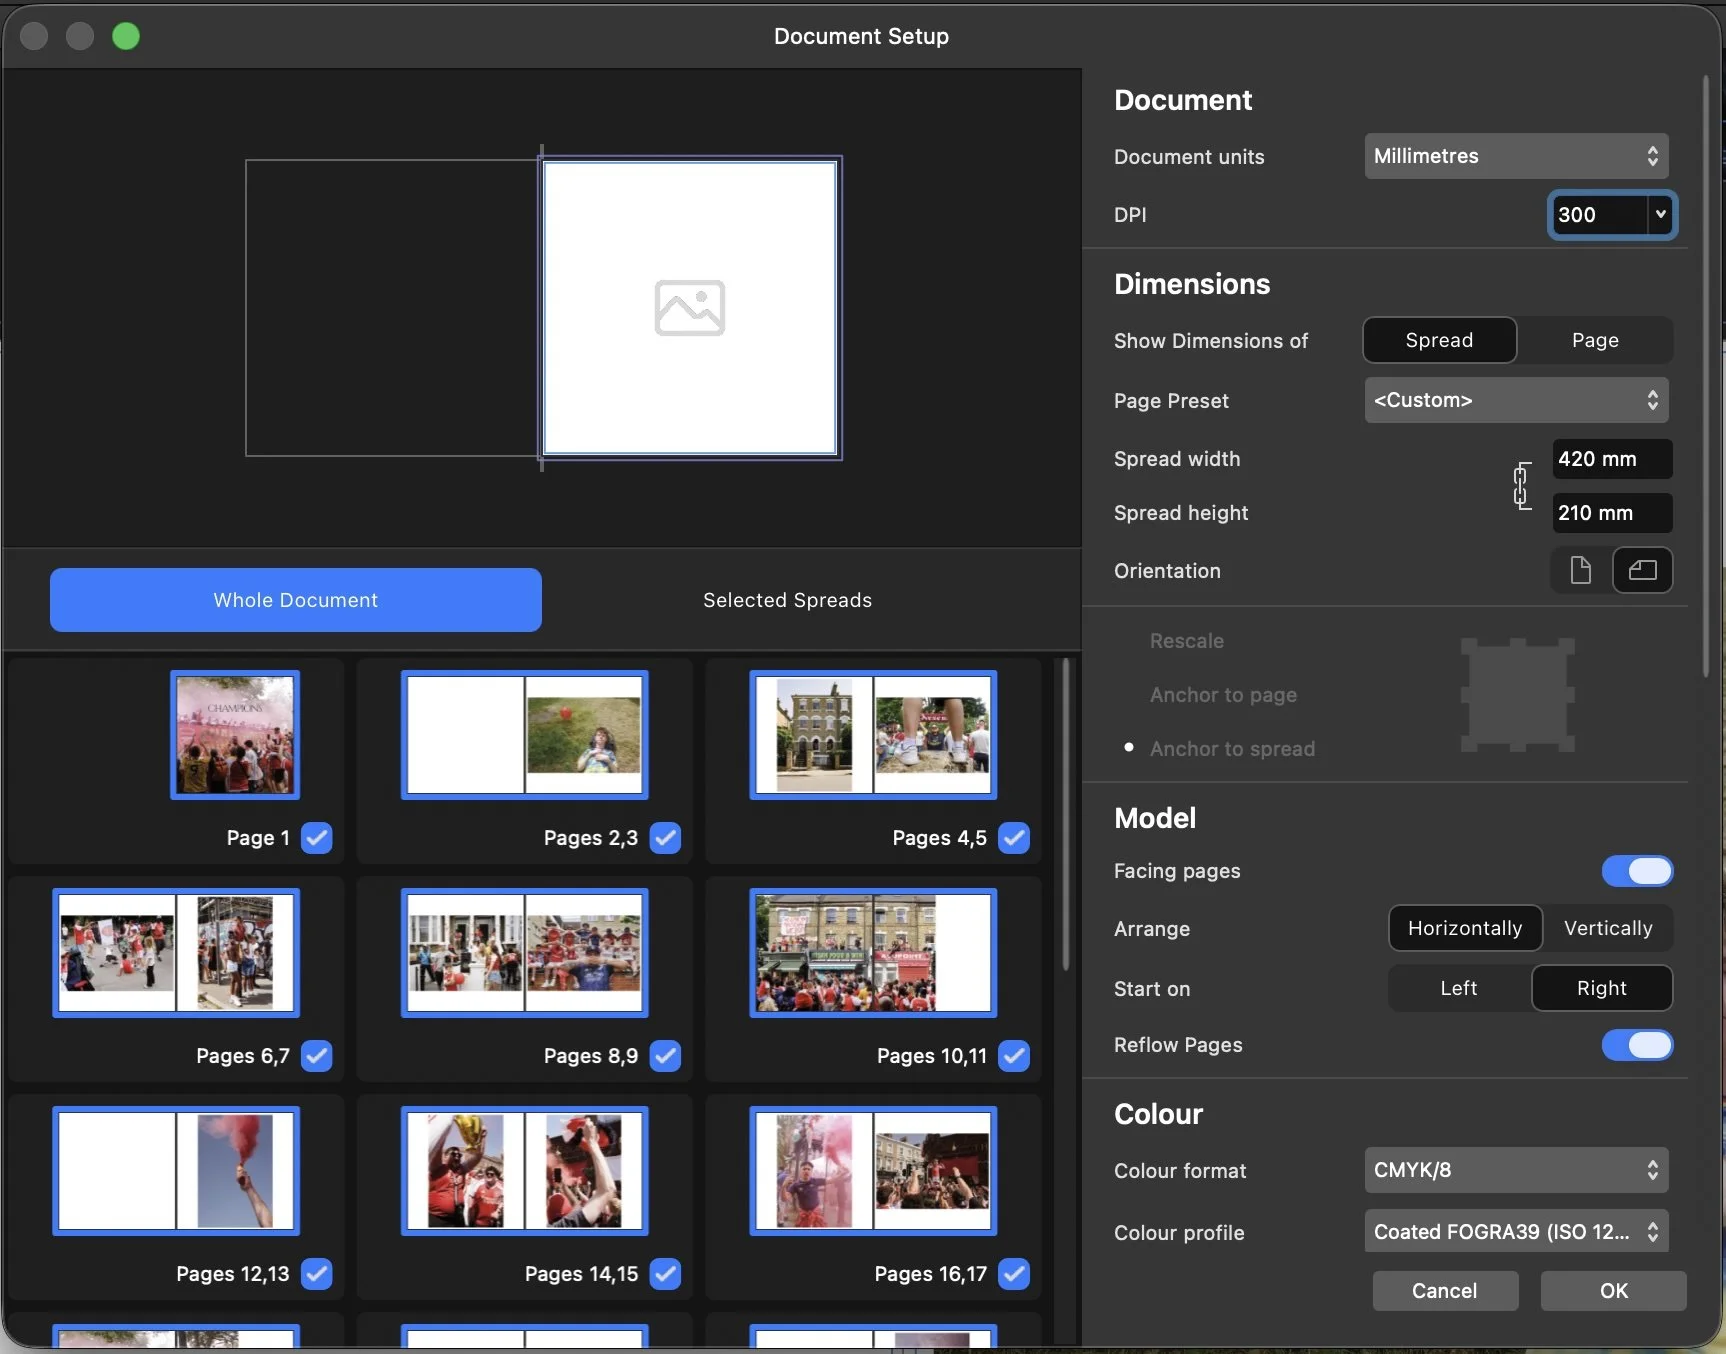
Note: The cover image will not be in your printing file, the covers are in a separate file
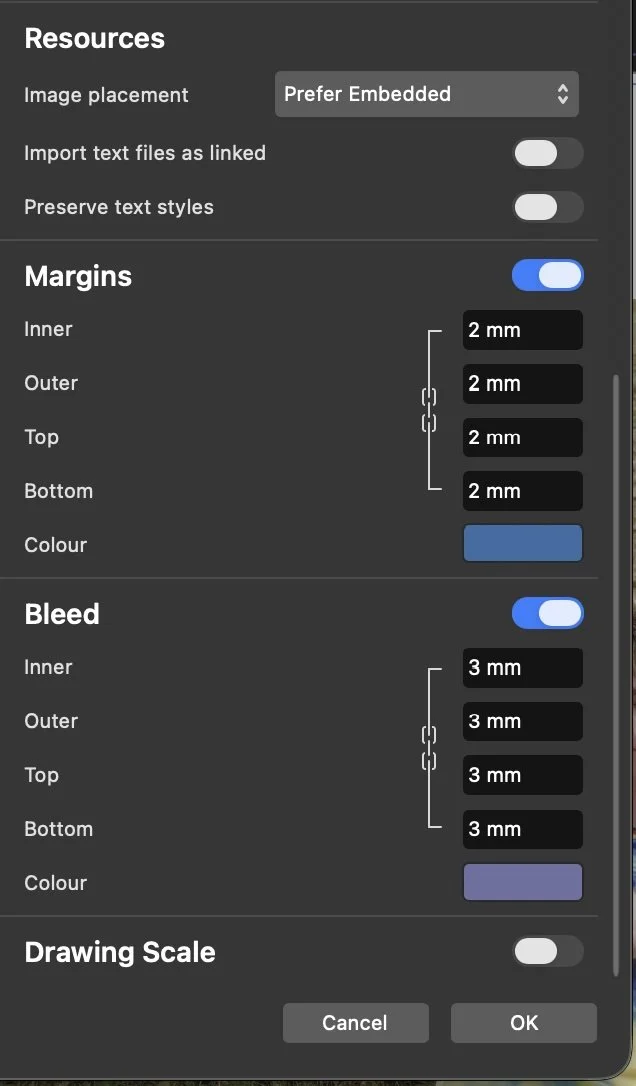
You can read more about what a bleed is here but below is the example from their website. Essentially it’s to avoid unwanted white borders. If you’re going to use another printer, you’ll need to check their bleed measurements.
I’ll come back to the colour part in the bottom right later.
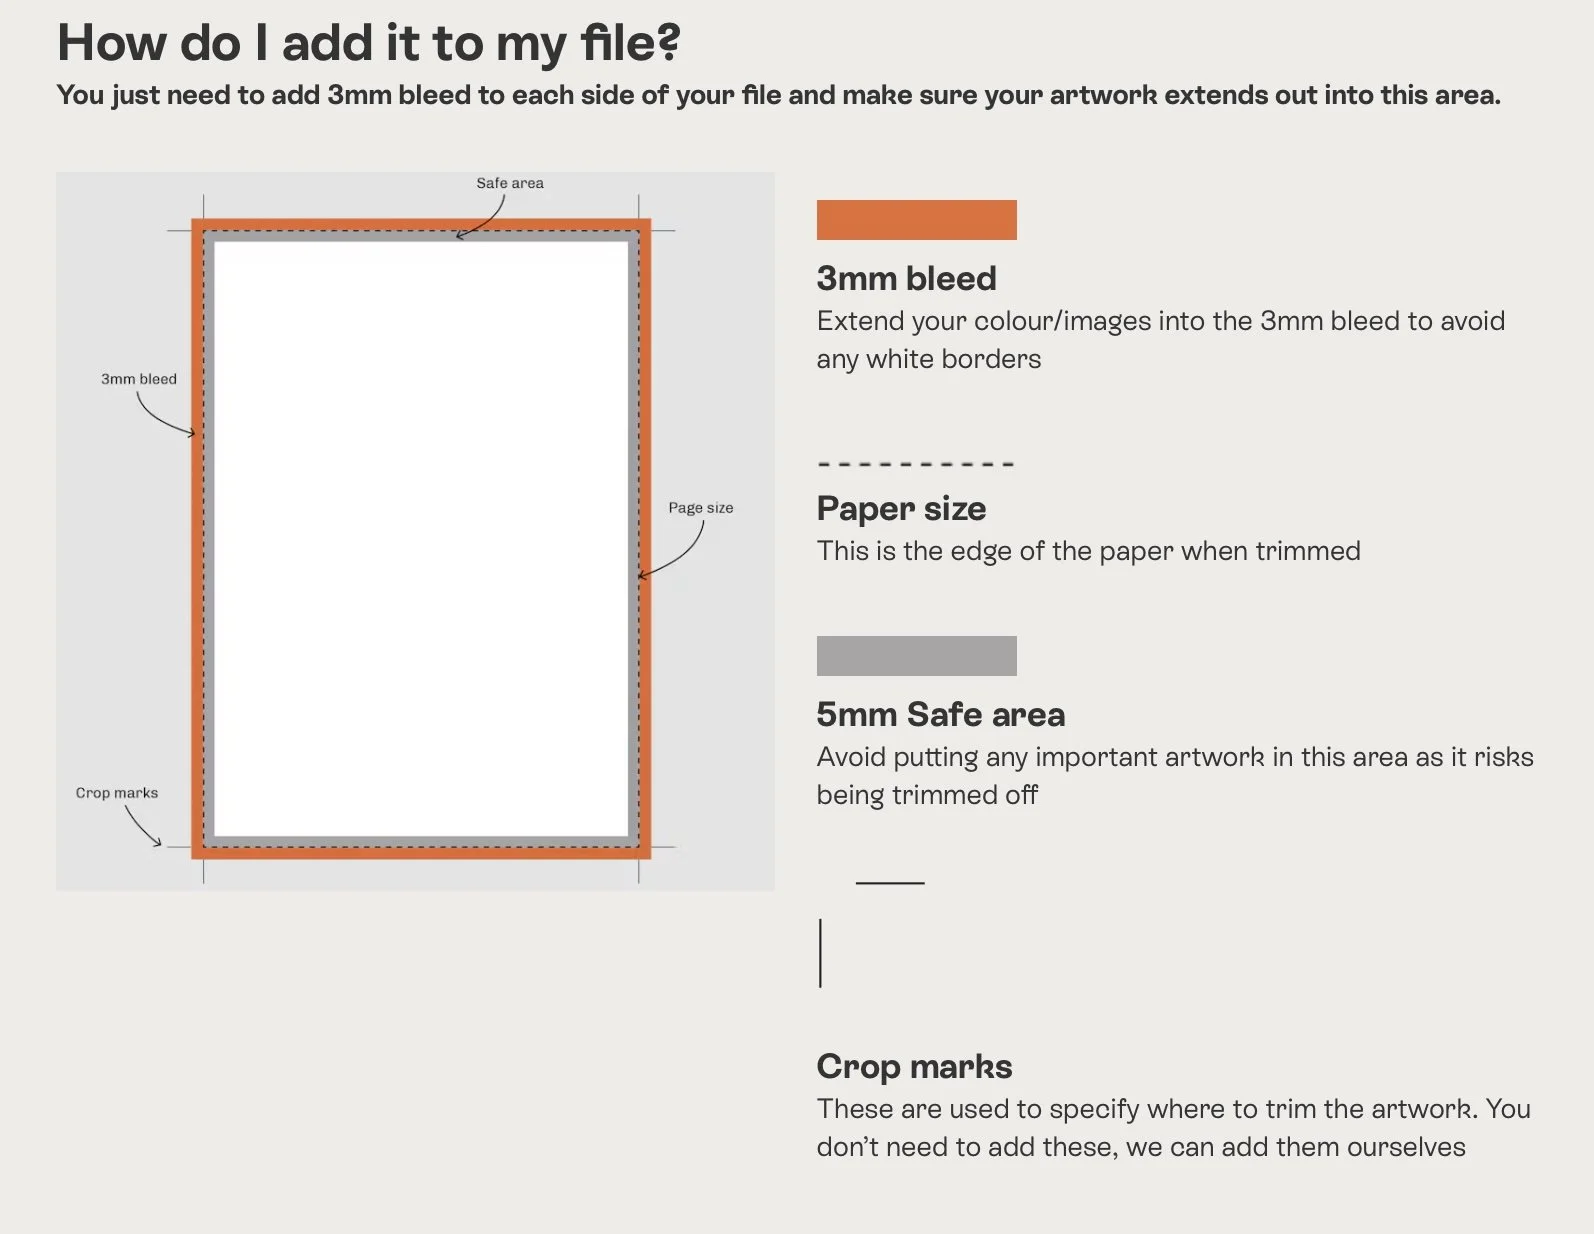
So now we have a blank template of a zine. Now it’s time to add the pictures. A simple copy and paste got the images in, following the sequence I'd already prepared in Freeform. I played around with where they sat on the page, and which ones to use as a double-page spread (it was the images that had the most detail, so they benefited from having more space to look around).
One mistake I made in a test print was extending the images into the bleed area at the centre of the double-page spreads. This made the resulting images overlap when the test print arrived. It wasn’t a huge issue but it was noticeable. To avoid this, be careful with the inner edges of your spreads, as they don’t work in the same way as the outer edges. You can see in the image below, this page was the left-hand image of a double-page spread.
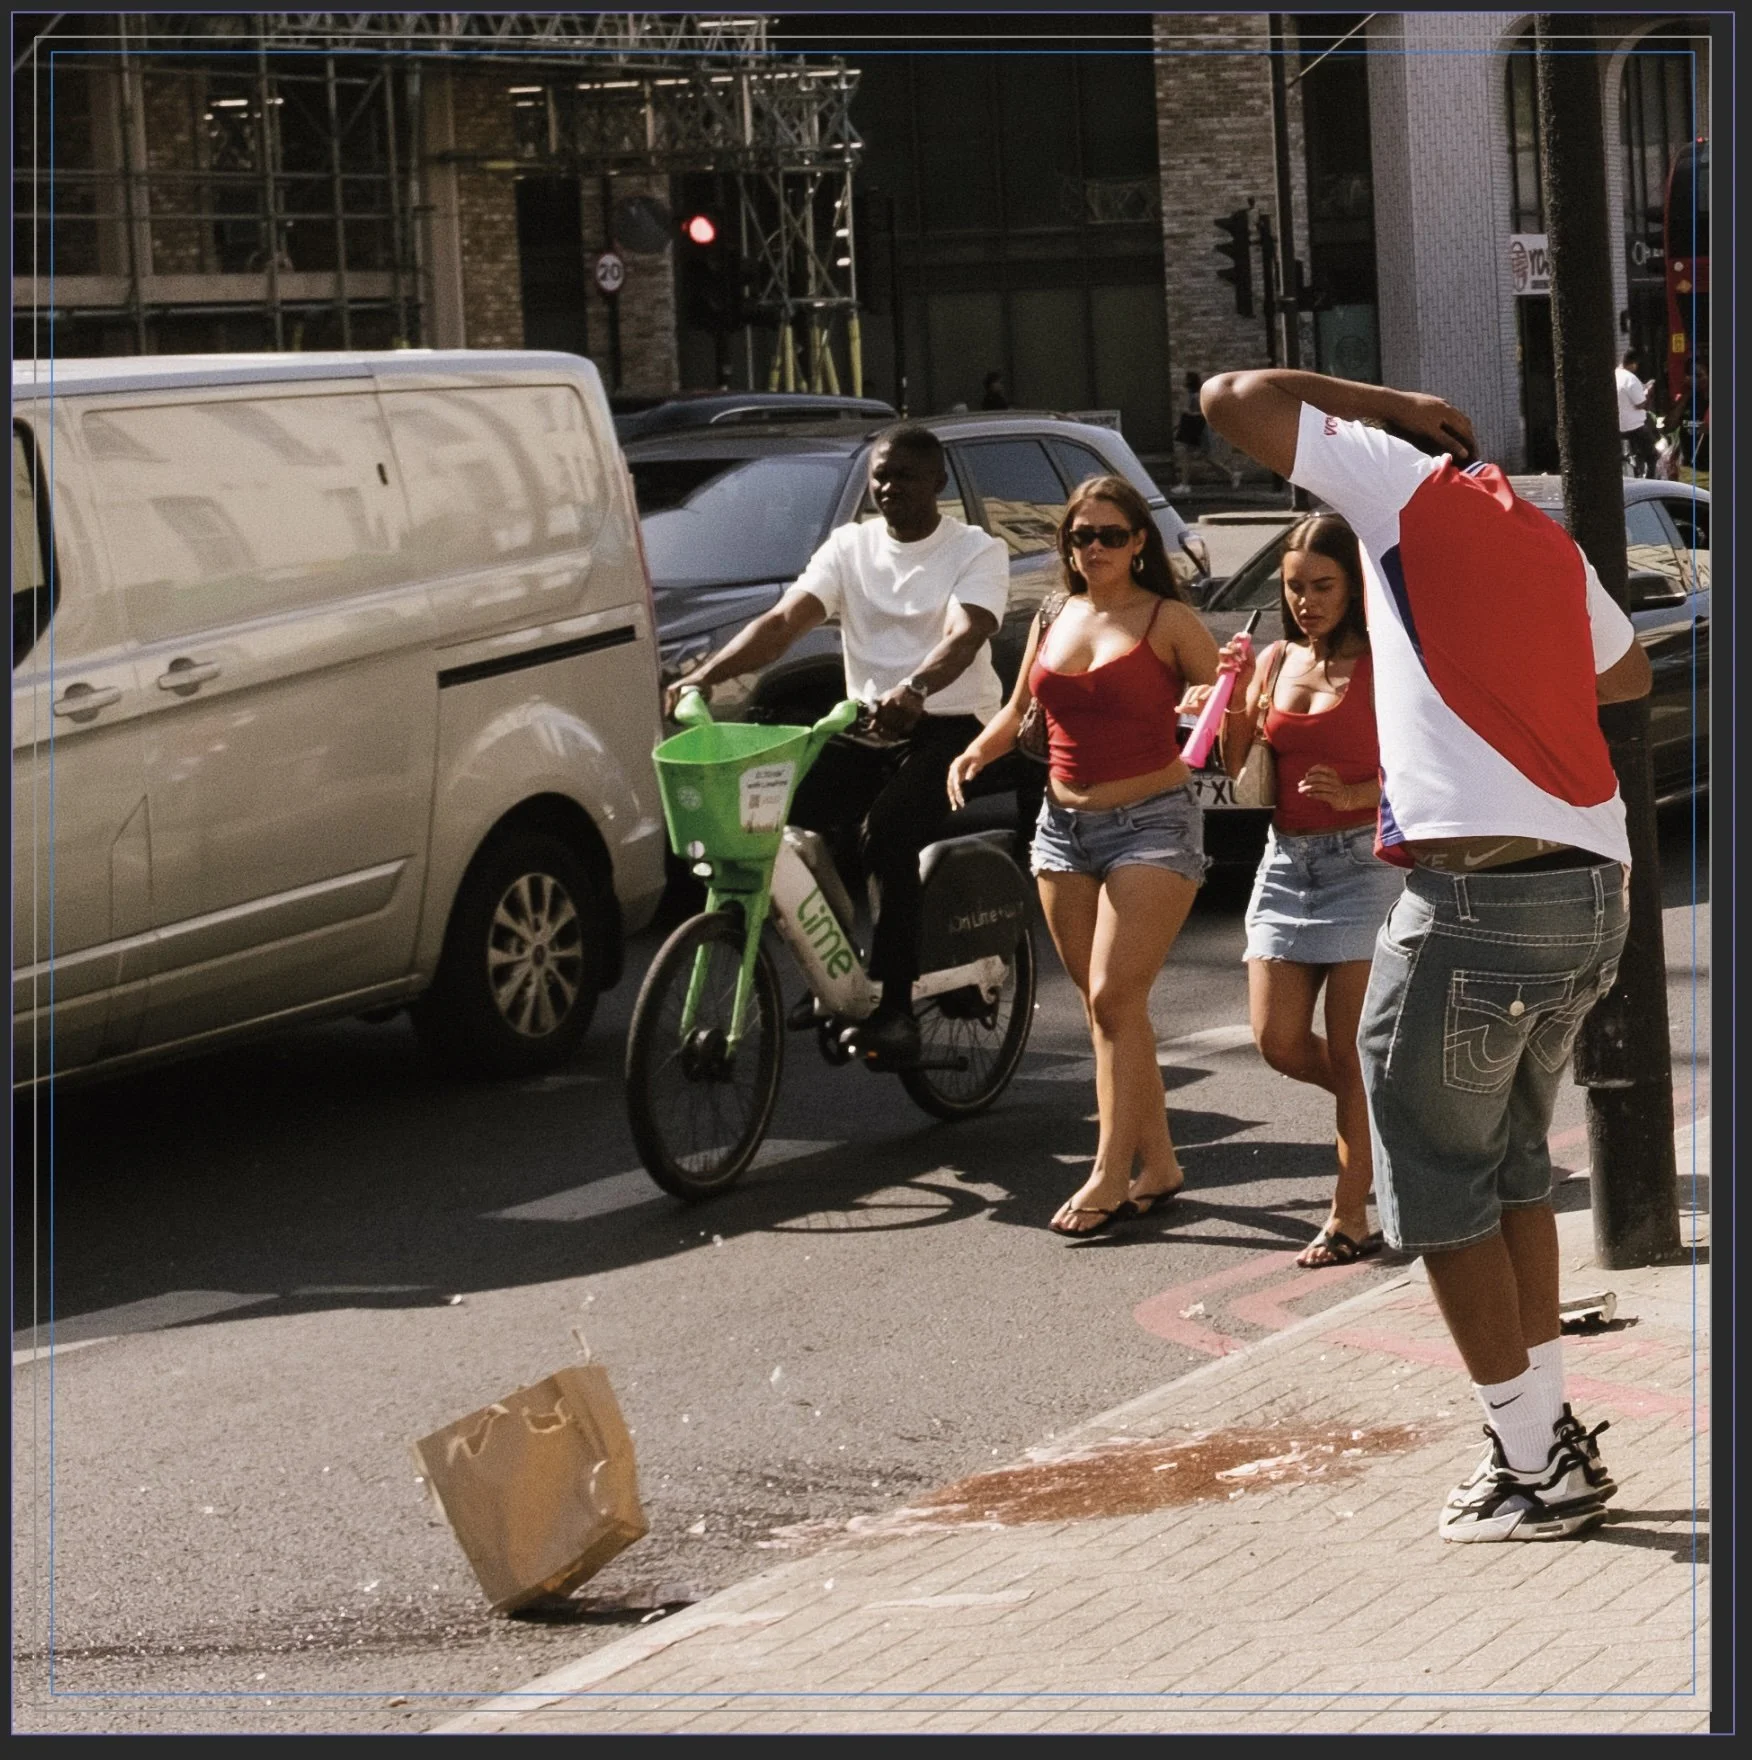
Notice how the right edge of the image doesn’t go to the grey line (the bleed)
Another tip to get more accurate with image placement is pay attention to the image size and position numbers in the bottom right hand corner with the image selected. You can also right click on the top toolbar and select customise, then add the align shortcuts; this saves a lot of time if you want to centre align an image quickly, much like how it works in PowerPoint.
So now I had the body of the zine done, next up were the outer and inner covers. Think of this as four slides, two are the outside cover (front & back) and two are the inside covers. Create these as new files (one for inner and one for the out cover), using the same bleed set ups as above.
How you do your cover is really up to you. I had an image in mind for the front cover and I wanted quite a simple, ‘thin looking’, font and there are many to choose from in Affinity. I also added some text to the inside back cover, talking a bit about the zine and what it was for, then saved as another file. I now had three Affinity files saved; one being the body of the zine, one for the inner cover and one for the outer. Now what, I don’t hear you ask?
Exporting for printing
Different printers have different printers (heh), and they don't all interpret your carefully prepared PDF in quite the same way. One thing to check is the colour profile your printer recommends. This helps ensure the colours in your printed zine are as close as possible to what you intended. With Print.work it was FOGRA39. Mixam, by comparison, is GRACoL2006_Coated1v2. The FOGRA39 profile wasn’t installed on Affinity / my Mac by default, but it was very straightforward to download and install, just Google it.
With the profile installed, you’ll probably need to restart, but once done open Affinity back up, open your files and select Export. In here, select PDF and then on the right hand side make sure ‘use document resolution’ is selected, colour space is CMYK, ICC profile is FOGRA39 and ensure ‘include bleed’ is selected.
Paper types
Now back on Print.work, the file was ready to upload and the only decision left to make was the paper type. Again, this is personal preference. I have a strong bias towards uncoated finishes as they are more like the zines and books I own, but it really is down to how you want the end product to look. Print.work also offer an option to print some photos out on different paper types so you can see which you prefer.
My selections were:
Paper type: Unicorn White (120gsm)
Cover Paper type: Unicorn White (250gsm)
Binding: Staple Bound
Laminated Sides: Covers - Single Sided (Matt)
Total Pages: 40 (includes 4 for the cover)
That’s about it. I sent the files off and waited.
The finished product
Just over a week later, two cardboard boxes arrived. After the shenanigans with Mixam, and with only 2 days until the launch event, I was holding my breath as I opened the boxes and checked the zines. They all came out great! I was equally excited and relieved.
The printing was great. The colours were as I expected and the zine itself was big! 210mm doesn’t sound like much (heh) but in comparison to my Carnival A5 zine, it dwarfs it.
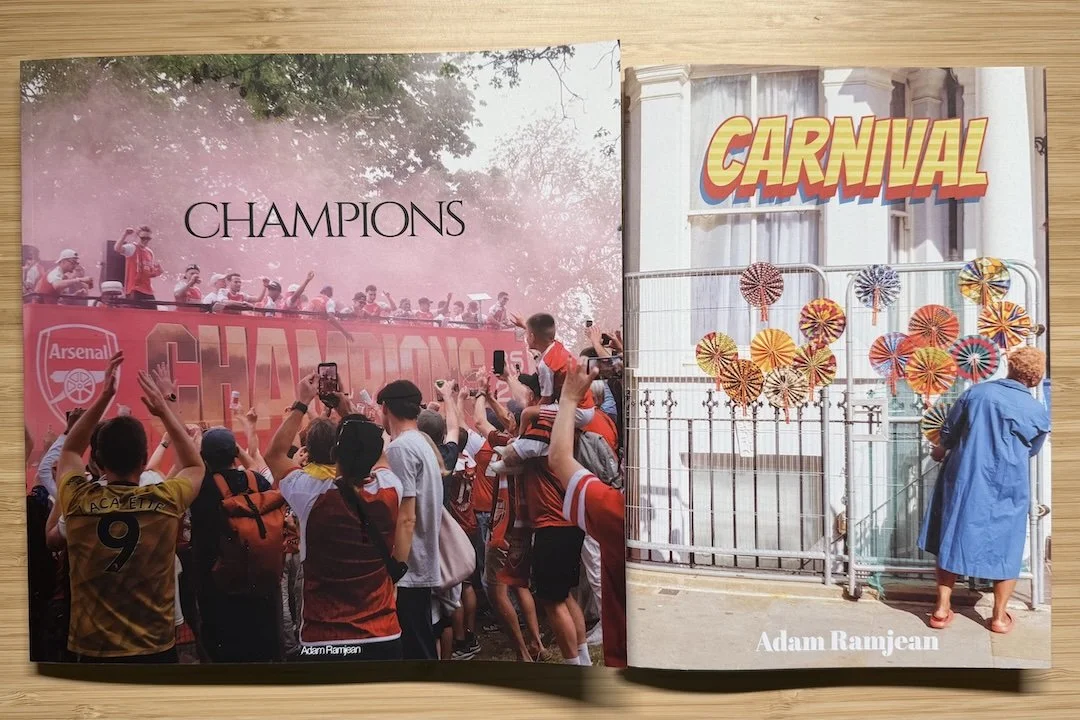
Girthy
So just like having bigger feet, a bigger zine means the photos are larger. This is most noticeable in the landscape orientation images and also the two-page spread images. And if you go full bleed on the latter, the resulting print is massive
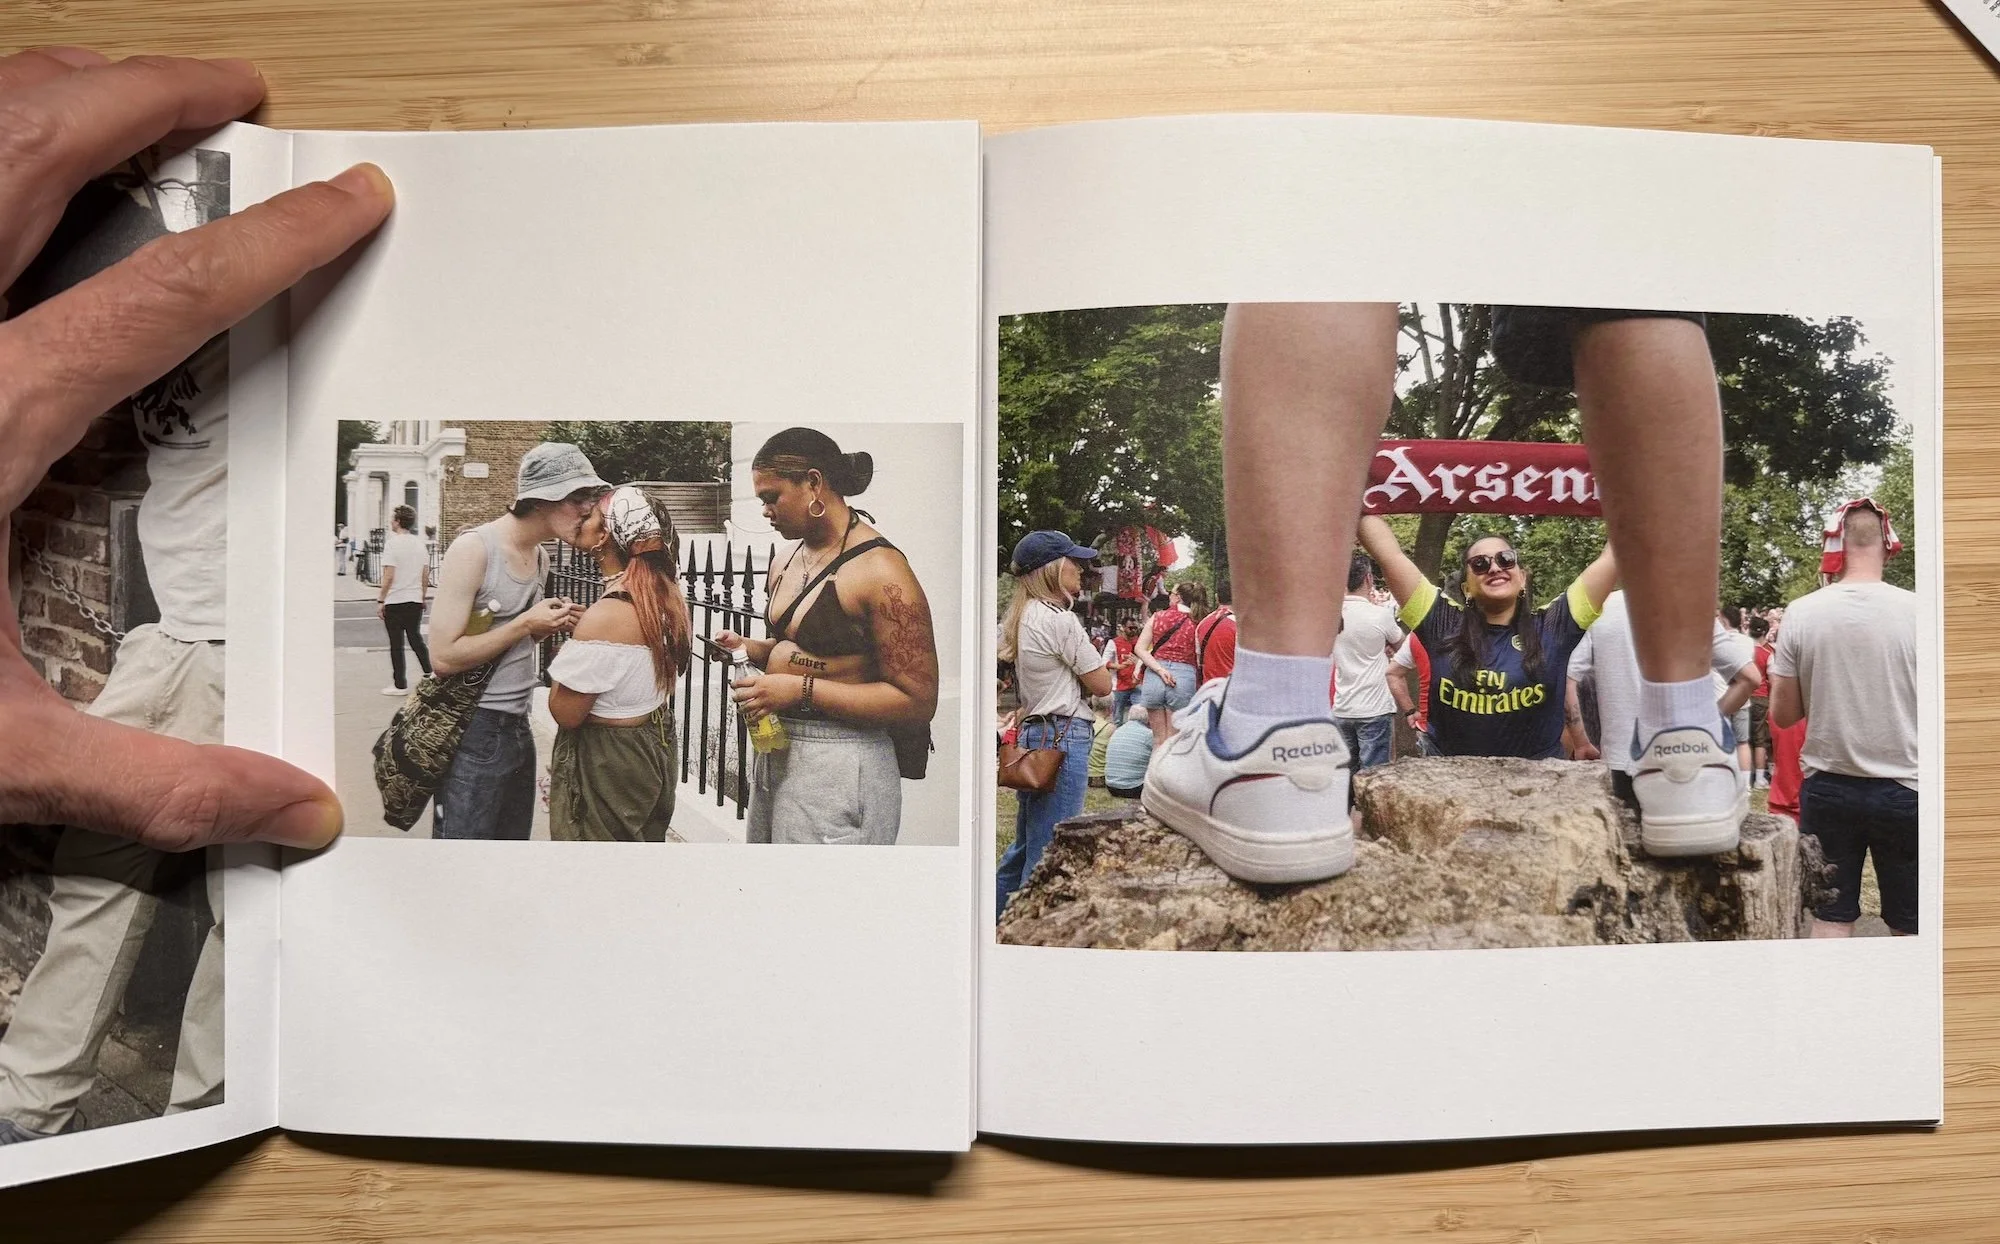
Landscape orientation images are so much bigger
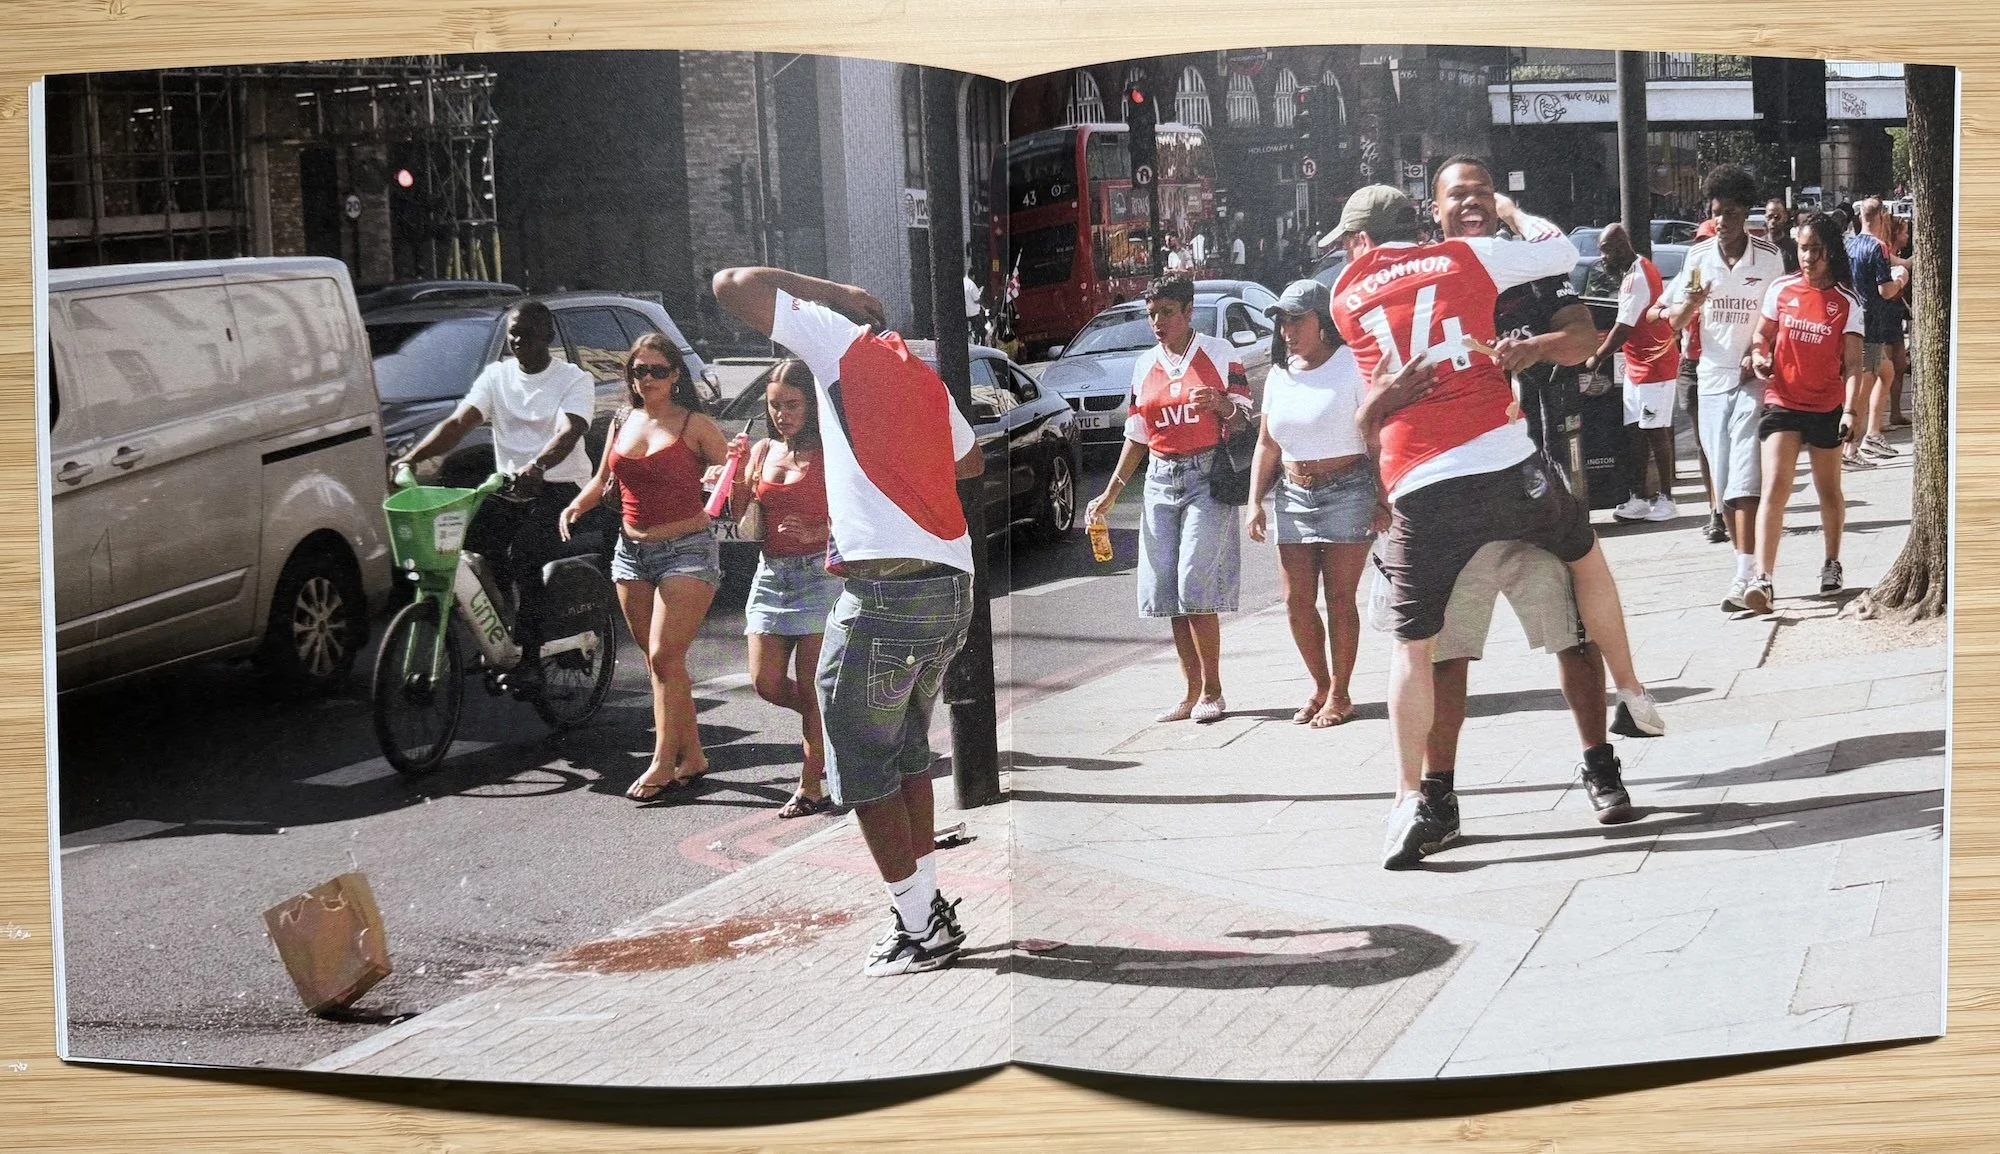
420mm…across
A special mention for Print.work
I have to give Print.work a special shout out here. All of the above sounds pretty straightforward but it was all new to me at the time. I was back and forth with questions to them via email and they were always very quick to respond with clear, helpful advice. So if the cost differential is palatable for you vs. Mixam, then I would recommend Print.work.
So there we have it. From 1,132 photographs to 31, from Freeform to Affinity, and finally to a stack of printed zines. Now I just needed to figure out what to charge and how to sell it. More on that in episode 4, stay tuned!